
PICK YOUR AI THEME TO GET STARTED

90 MINUTE CHALLENGE | AI WEBSITE COURSE
AI WEBSITES
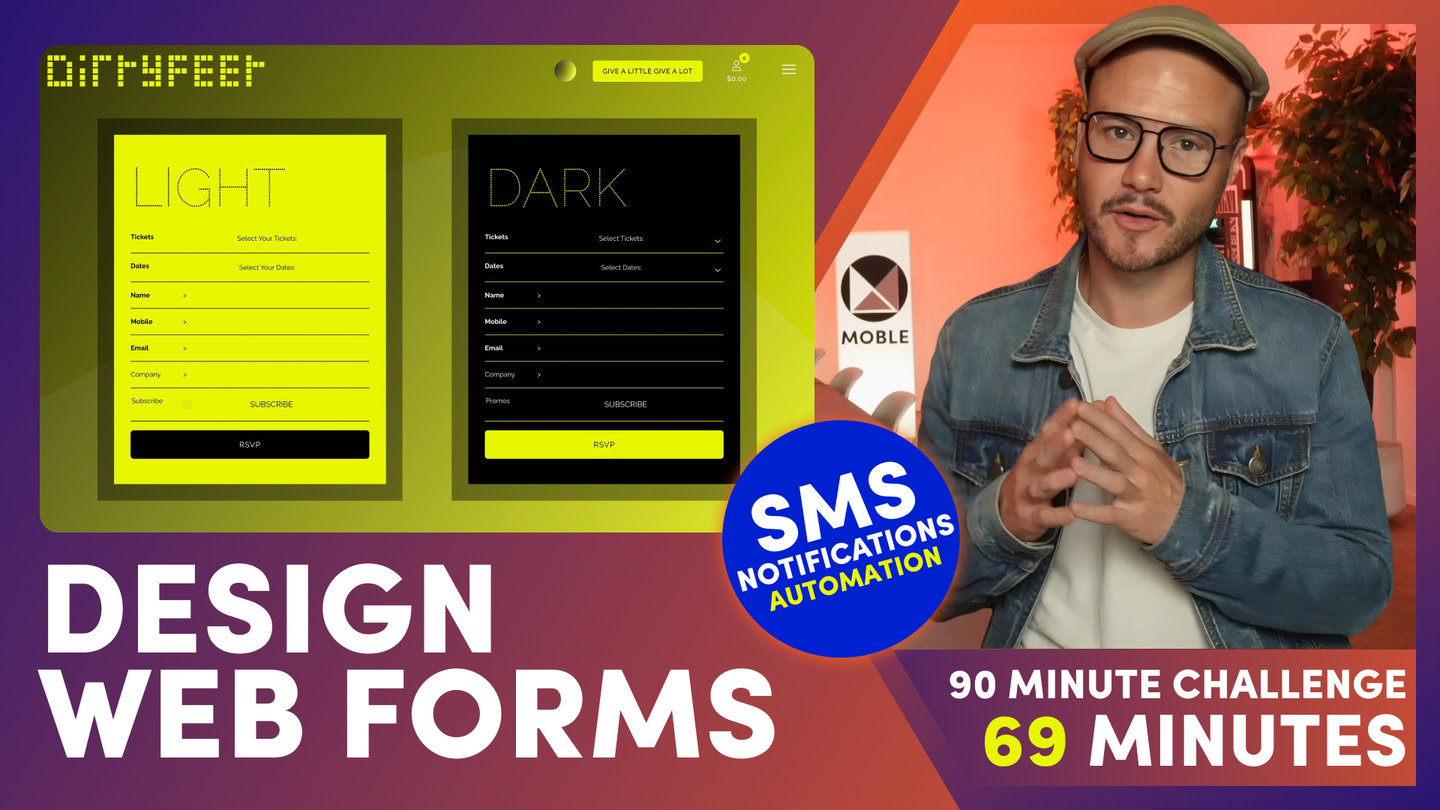
FORM BUILDER

Paul Davenport | 06:20
1. Drag and Drop Form Builder.
2. Design Forms with native website CSS styles.
3. Payments, Notifications, Enquiries, Members, Integrations.
To add a Form to a Web Page, click the Plus icon in the Frames tools.
You can add a MOBLE FORM by selecting a Form, or, Embed a from your favourite Form app.
For MOBLE Forms, click Forms and select your forms.
To embed another Form, click code and paste in the Embed Code.
Most people use MOBLE forms as they are included with no extra cost,
have seamless styling with your website,
and can integrate with applications including MailChimp, Active Campaign. Zapier and Make.
To edit forms and create new ones. Go to forms via the Main menu.
Here, you can clone forms such as Payments Forms, Subscription Forms, and Chatbot Forms and build new Forms from scratch.
Simply add fields and elect to make them mandatory.
If you're creating a Form with options, for example, Dropdowns and Radio for single selection, or Multiselection, then list your items as a new line.
If the Options are Prices for Online Payments, include the price at the start of the line and click 'Set Price Options'.
In the settings for each Form, you can select the styling by choosing colours (if you're unsure of the colour names, click the Colours link, and note we are adding colour swatches soon).
The Labels are self-explanatory except perhaps for Elements Colours, which is for Elements like Underline, Dropdowns, and radio buttons).
When designing slick Form on different colour backgrounds, I personally like to Clone the Form and make a variant with Light Labels.
Your Theme comes with Light Variants for the Short Form and the Event Form.
I recommend opening both to see the colour settings for each, and you'll be using Forms like a Design Pro in no time.
You can select the 'Thank You' page, the is linked to after the Form has been submitted… to create journeys and funnels.
For competitions, you can limit the Form to a Max number of submissions and set an alternate Thank You Page… to notify them that they have already made a submission.
You can Assign People to Member Groups.
You can Style the Submit Button.
You can assign Email Notification addresses to Customers, and to your Admin Team.
If you're Sending an SMS notification, first ensure you've added your Twilio ID, Auth Token, and Number in the Global Settings area.
And now, you can add your SMS Notification Message here.
Do note, for the lowest fee per SMS, keep your message below 160 Characters including your call to action link.
If you're sending people to a Page or Product with a long page, then use a URL shortener.
You can receive Payments in Forms, and remember you can also take Payments and Subscriptions in your online Shop. So you have a choice of when to use a Form and when to use a Shop product.
Here on DirtyFeet I elected to use a Form in the Action Section for a rapid card collection on every page of the website.
Plus, to increase exposure, I also used a Shop Product Page for Donations, where the customer would go through the normal checkout process.
Note that all your Transactions for your Forms and Shop are logged in your Transactions Tab in the Ecommerce area, and both are hooked up to Stripe.
In this case, I'm sending the Transactions to Xero via Stripe, since the customer is using Stripe for other services, not just the website.
And, I'm also doing customer refunds via Stripe too, to keep everything in one place.
If you are sending the Form data to another app like MailChimp, ActiveCampaign, or Orrto, you can select the Member Group Lists and Tags here.
You can also create your own Integrations via Zapier and Make.
Finally, in the Contacts Area, all your Form Enquiries are logged. You can search for Enquiries and Export them via the Export button in the Top Bar.
I like to send my Form enquiries for Customer Services Enquiries to a Slack Channel, and in addition I send sales Enquiries to our CRM, support Tickets to Trello.
If your enquiry has been assigned to a Member Group, you can see your opt-in members here, along with their groups.
This is especially good if you're using Zapier or Make so integrate your website members.
For example, sending VIP Shop Members to Klaviyo.
Speaking of which, please like and subscribe to receive my latest videos, to be notified when I post more detailed videos on how to manage your website.
If you're like many customers and would like help integrating Forms with other business applications and creating customer Journeys, Funnels and Automations, please click the Built For You button and our team can provide you with a quote, or connect you with one of our AI Agency Partners.
Course Quick Clips


PARTNERS & INTEGRATIONS
70 Award
Winning AI Themes
GETTING AROUND
SUPPORT
AI SALES LINE
AI SUPPORT LINE
GET A QUOTE
A Web Builder for Design. A CMS for Business. We serve all businesses from SME's to Enterprise. Talk with us for AI development, custom website design, website development, ecommerce websites, directories, intranets and social networks.