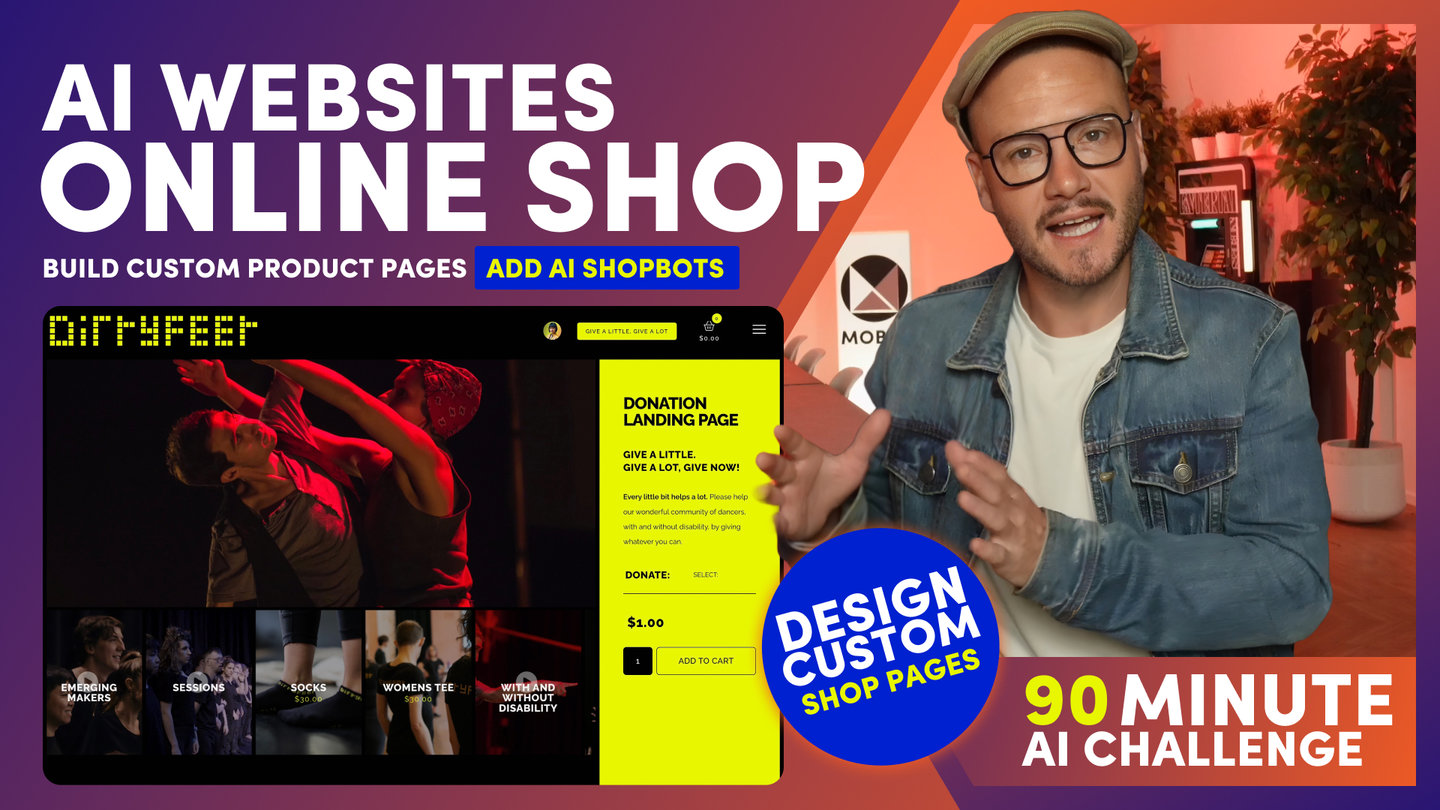
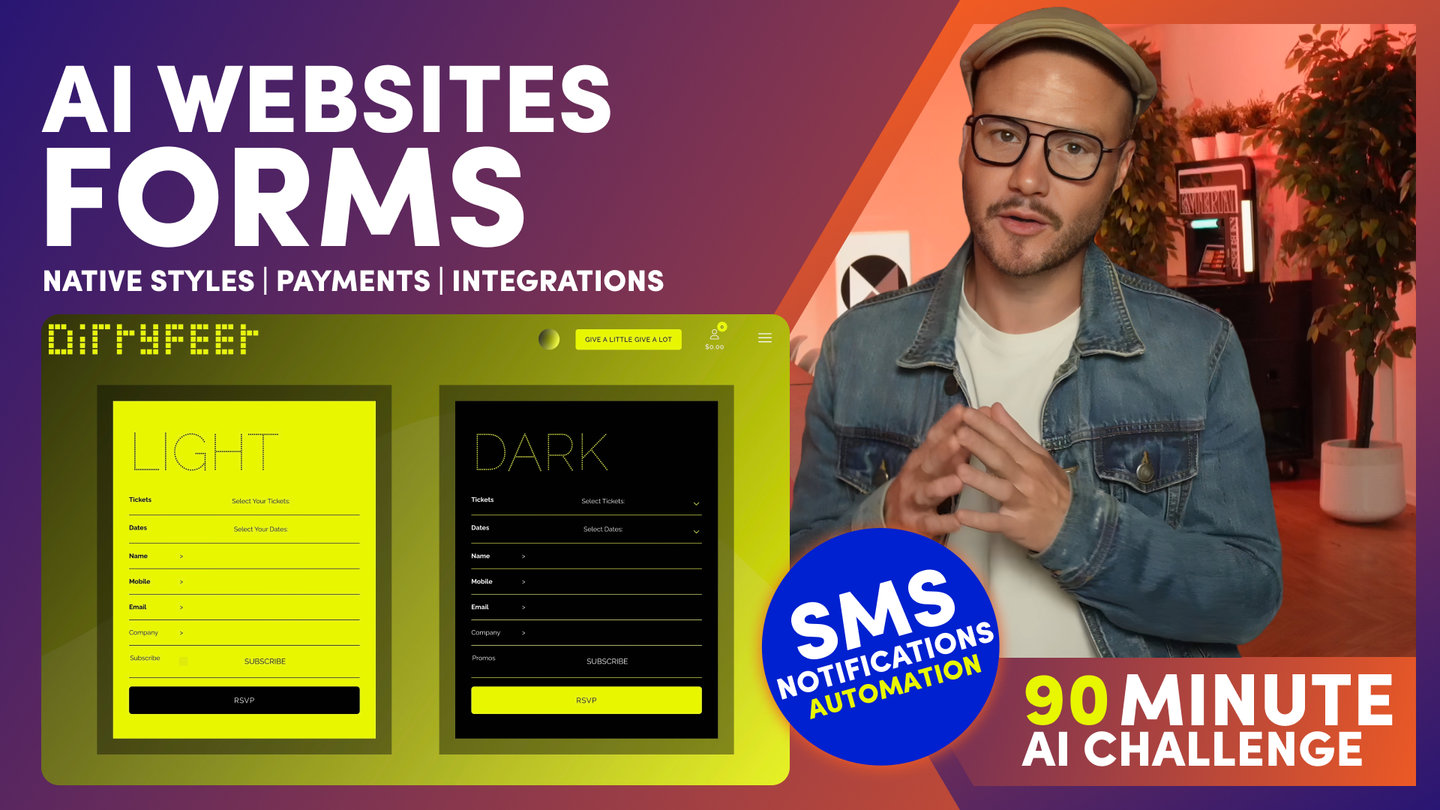
90 MINUTE CHALLENGE | AI WEBSITE COURSE
AI WEBSITES
MENUS & NAVIGATION

Paul Davenport | 06:40
1. Rapidly add Pages and Menus to create Custom Navigation.
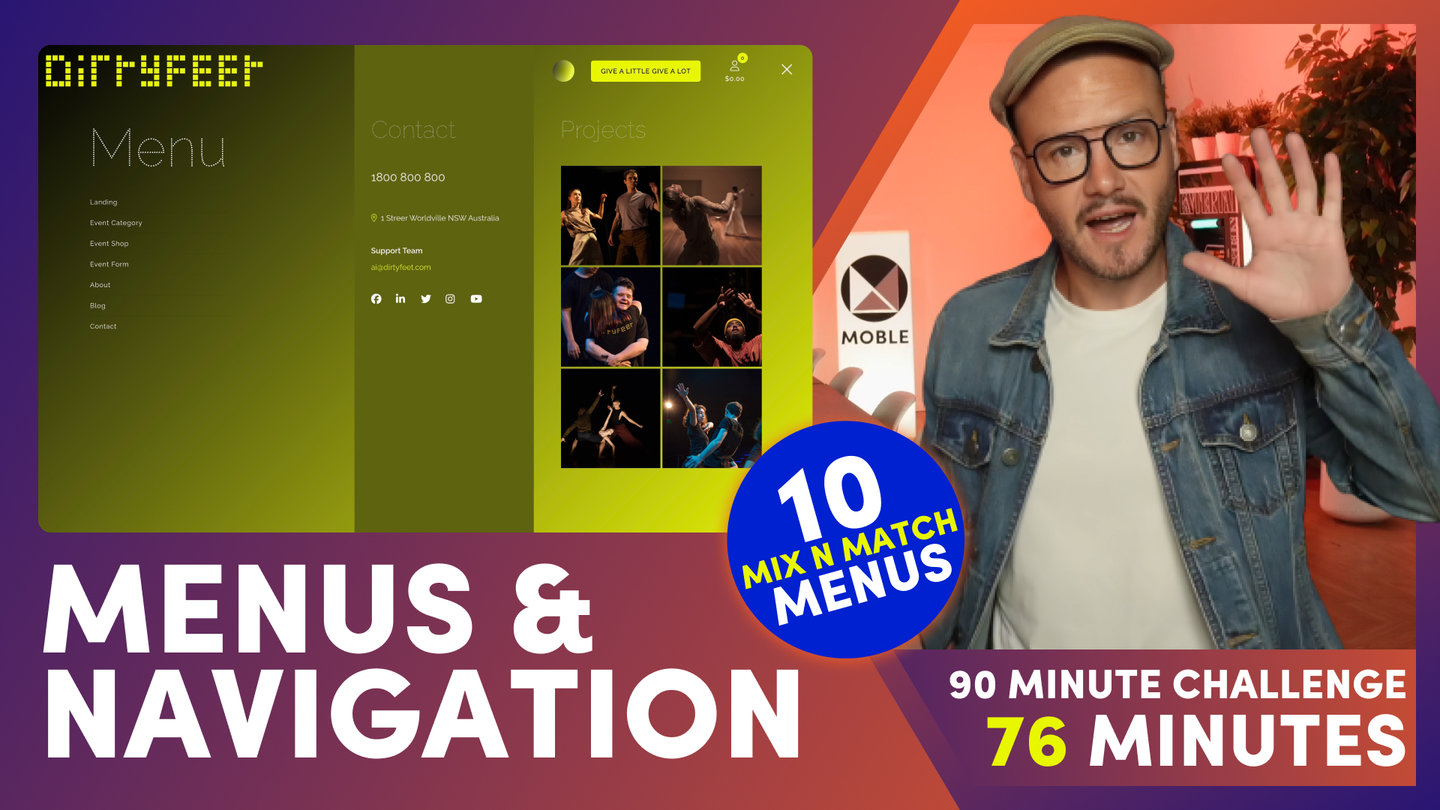
2. Combine 10 different Menu Types: Dropdown Menus, Drawer Menus, Menu Sections, Action Sections, Mega Menus, Body Menus, Footer Menus Sidebar Menus, Member Menus, Cart Menus.
Now we're ready to add your Pages.
The most obvious way to add a Page is in the Pages area, where you can add a new Page by the ‘Add Page’ button at the right of the Top Bar.
Or, you can Clone a Page, if you have a Page with the Design Layout and tags already set.
If you're working on a New Page, you can put it in Draft and flip it to Live when you're ready.
Or, if it's a page that you do not want to be indexed by the search engines, such as a Landing Page for an Ad or special offer, you can assign the page to ‘Hidden’ and this will tell the search engines not to index it.
Remember to use the Help icons if you need more info.
Now, when you're first building your website, the quickest way to add Pages in one go, is via the Navigation area.
Here, you can create complex Website Navigation to serve Thousands of pages from just a handful of labels in your Header. And you do this by creating and connecting menus together in infinite ways.
So let’s look at some of the possibilities.
I'll draw your attention to the ‘Header Menu’, which is the main navigation bar in your Header.
In the Header Menu you can Create dropdown menus with submenus, simply by dragging your Labels into position.
To add new pages, you can add a New Page via the Top Bar.
If you're adding a Menu Label to a Page that already exists, use the Link List to select your Page.
If it is a new page, check 'Create as a New Page', and your Page will be instantly created for you behind the scenes, offering a rapid way to create lots of Pages without any page load time.
Now go ahead and add all your Pages.
Back in the Navigation area you can choose to add a Menu that opens from the Menu Icon on mobile, and also from the Menu Icon on Desktop,
if you choose a Menu Icon earlier when creating your Header. You can link to the Header area here, via the Top Bar.
You can choose either a Drawer Menu or a Menu Section to open from the Menu Icon.
A Drawer Menu requires no design, it will build itself in a neat and simple Slide-in Drawer.
A Menu Section is a custom page that we covered early when setting up your Header. Remember, there are many Layouts to choose from for your Menu Section.
Via the Customise Header button, you can flip between either a Drawer Menu or a Menu section.
Then, back over in the Navigation area, you can see that your selection is highlighted in black, denoting which Menu you ‘must’ setup.
Remember, even if you have no Menu icon on Desktop, it will always appear on Mobile, so you ‘must’ set up your Pages for one of these Menus.
For large sites, you can choose to have a Top Bar.
You can also create a Category menu and Body Menu that you can drop anywhere on any Page, such as sidebars and your Footer.
Menus are very common in your Footer.
You can access your Footer via the Quick Links on this page, and again there are many Footer Layouts in the Layouts Drawer for you to choose from.
You can browse Footers by Theme, and also by Type, where there are countless Footers to choose from.
You can also add Mega Menu.
If you're creating a Mega Menu. You can do this over in the Pages area.
All Menus and Footers are 'Hidden' 'Sections'. Search for 'Hidden' and 'Section' and you will see all the Hidden Sections.
You can design Hidden Sections just like any other page, and since the pages are 'Hidden' they won't be indexed by the search engine. So you don't need to worry about a Footer showing up in Google.
Again, for Mega Menus you can browse many Mega Menus either by Theme, or by The Type in the Layouts Drawer.
Once you've created your Mega Menu, you want to assign it to the Header Label.
Therefore, open the Header Menu.
Then, click Edit for the Menu that you wish the Mega Menu to drop down from, and assign it.
Finally, if you have an online shop or a password-protected area for Members, you can access those Menus here.
You can change the order of the Labels and of course add new Pages that are relevant to your Shop, or Pages that only Members can see.
Just note, if you are creating password-protected pages for Member Groups, make sure that back over in the Settings for those pages, you Protect the Pages and assign it to that Member Group.
You can create new Member Groups and assign Members to those groups in the Contacts Area and when automatically when people sign up via a Form, by assigning that Member group to a Form in the Form Settings.
Now, if you are selling digital products like a course or a subscription service, you can grant access to those Member groups during checkout.
Now we're going to move on to the bit that everybody has been waiting for, and this is how to set up your AI Agents and put them to work as a Chatbot, Voicebot, Shopbot, or to integrate with other applications.
Course Quick Clips
70 Award
Winning AI Themes
GETTING AROUND
SUPPORT
AI SALES LINE
AI SUPPORT LINE
GET A QUOTE
A Web Builder for Design. A CMS for Business. We serve all businesses from SME's to Enterprise. Talk with us for AI development, custom website design, website development, ecommerce websites, directories, intranets and social networks.


